And Now for Something Completely Different
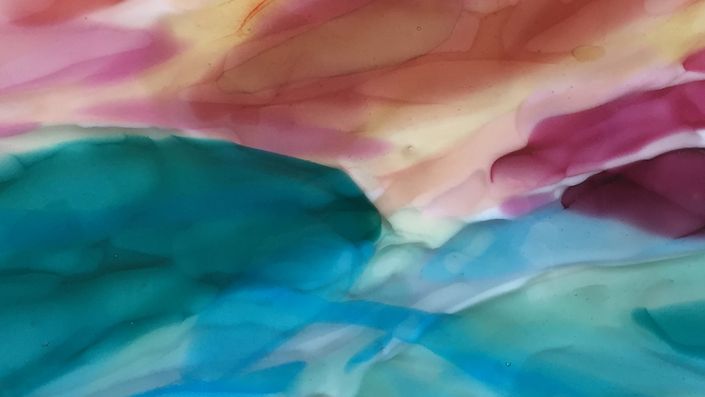
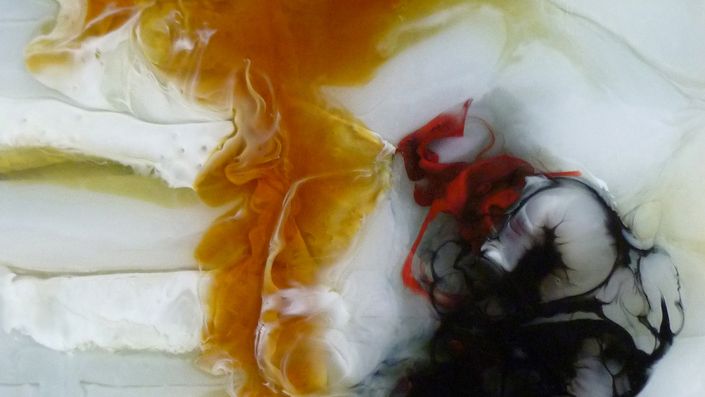
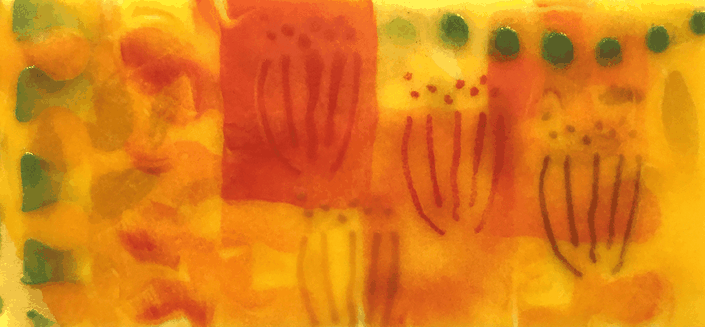
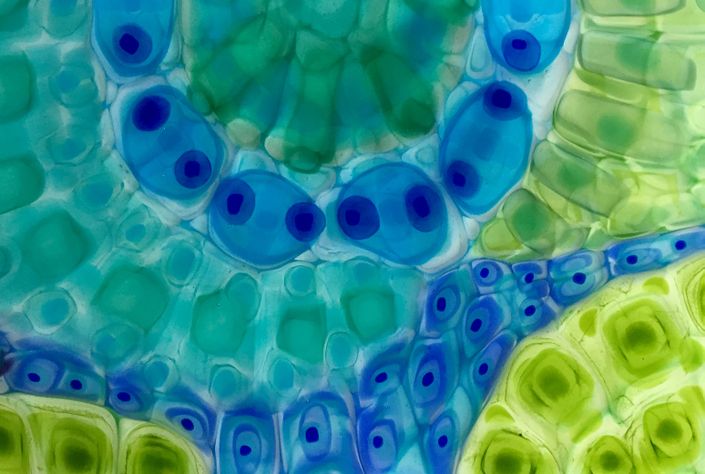
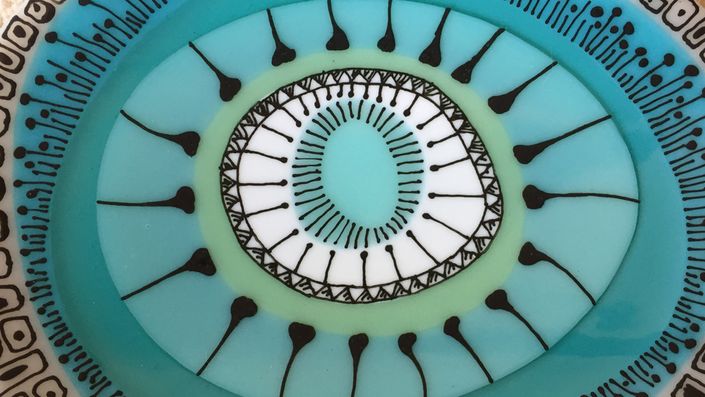
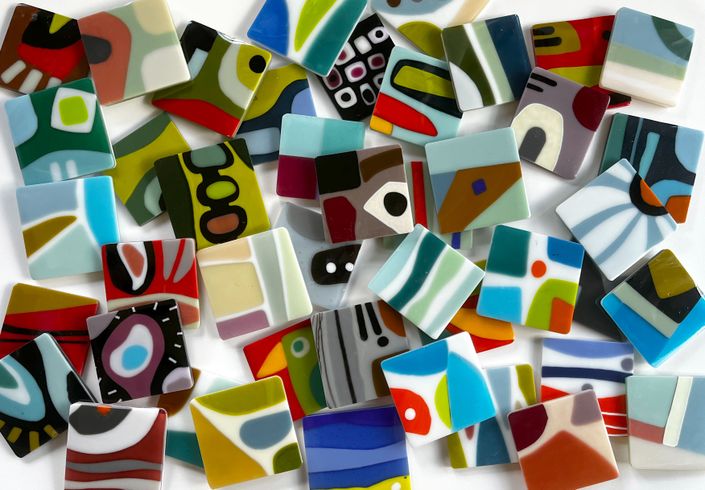
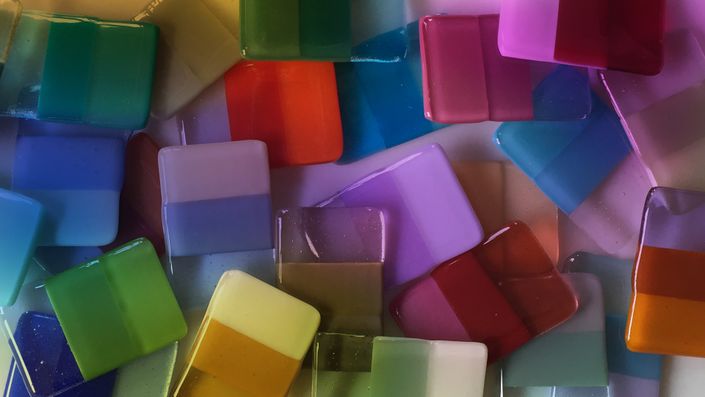
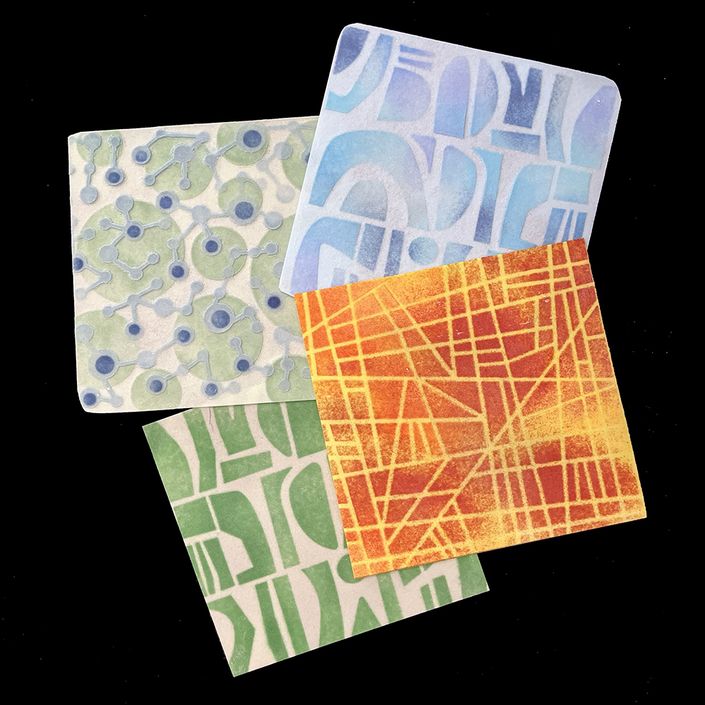
This video course uses Bullseye colored transparent sheet glass, powders and clear glass for a multi-dimensional, mesmerizing watercolor look. If you want to advance your fused glass projects, and think you've seen it all, think again!
In this easy-to-understand tutorial, follow along on three different fun projects, each of which is fired five times. Watercolor Glass is beginner-friendly! A passing acquaintance with powders is recommended but not necessary. Experienced fusers will also appreciate a method that's different and fresh.
An Organic, Painterly Approach
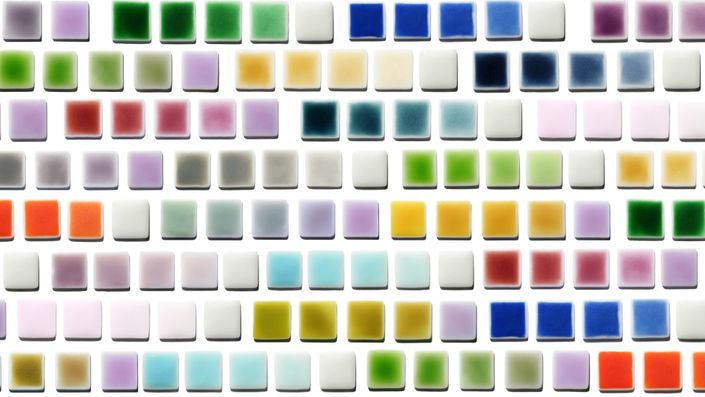
Discover a new way to fuse glass over multiple firings — and learn to think like a watercolorist. This means building your colors slowly, from light to dark, and looking for opportunities to add and subtract color as you work through the pieces. You'll find a whole new color palette beyond the usual Bullseye sheet glass catalog, and some interesting textures as well.
More Than just a Technique Class
Kim doesn't just demonstrate how to do this. She also shares her thought process and why she makes the decisions she does in putting the pieces together. Her design eye is on full display as she talks about color, composition, texture, and shapes. It's a fascinating window into the mind of a graphic designer.
Learn at Your Own Pace
The course is broken up into three separate projects, and each has six videos -- one for each day it was worked on and then fired. The total length of the combined lessons is 1 hour 51 minutes. And for our students with less than perfect hearing, there is a closed-caption video for each lesson.
What You Need: Materials and Tools (3:31 minutes, 1 video)
Blue / Green Project (34:45 total minutes, 6 videos) This project uses sky and ocean colors, and will be fired five times.
Red / Orange Project (27:20 minutes, 6 videos) This project is made with hot colors, and will be fired five times.
Muted Colors Project (34:34 minutes, 6 videos) Learn to plan a design and use some different shapes. This color palette is more neutral, and the piece will be fired five times.
BONUS VIDEO: Taking it Further and Lessons Learned (11:41 minutes, 1 video) Fusers LOVE this video. It's a look at some of the work Kim made shortly after developing the technique. She stumbled badly in her first attempts to make "real" work with this method, so you can avoid making some of her mistakes and shorten your learning curve. Also, this section will give you some ideas on how to adapt the technique and make it your own.
Unlimited Course Access: Some platforms can limit your access. Maybe you can't see the tutorial as often as you'd like. Or perhaps there's an expiration date on it. We don't do that. We understand that everyone learns differently and sometimes life gets in the way of art. So review as often as you need to and come back whenever you'd like. Your videos will still be here.
High-Quality Videos with Multiple Angles: Our 1080p videos can be streamed to your big-screen TV through AppleTV and Airplay.
A New, Previously Unreleased Technique: Kim has developed this new technique and is sharing it exclusively through Kim+Kat Glass. This content and her technique is copyrighted, but Kim is available for teaching remotely at your local studio with our high-tech setup! Contact Kim through her website above for more information.
Facebook Community: We maintain a private FB group for students who are enrolled in the Watercolor Glass course. It's a place to ask questions, post your work and find other like-minded artists who love this technique.
Documentation: Everything You Need to Know
A supplies list, color charts and firing schedules are provided for all projects in a beautiful, easy-to-follow downloadable pdf.

Three Projects + a Bonus Video

Blue / Green Project
For the first project, you'll create a layered tile in blues and greens, and fire it five times. Learn how to add layers of colors on top of each other, use powders to make interesting lines and textures, and thin out colors with clear glass.

Red / Orange Project
You will start out by making a background pattern in a dark color, and then layer warm tones on top for a monochromatic look. You will also create some custom colors with powders. Five firings.

Muted Colors Project
Getting tired of squares? You will make a piece that makes use of some different shapes and uses muted colors to make a piece different than the first two. This will require five firings.

Bonus: Taking it Further and Lessons Learned
Things Kim learned when she tried to advance this technique and make more intentional, planned pieces. Spoiler alert: mistakes were made.
What Our Students Say
"This course delivers on all levels! Well executed video, covering all the bases from concept to finished piece, Kim Brill has created a winner."
— Keri
"A flexible, fun, easy, and distinctive powder layering technique. The final pieces are wonderfully vibrant, and powder mixing gives you a chance to play with new, unique colors. Kim gives great insightful art composition tips and thoughts along the way. A great class!"
— Jenny
"Kim brings us along through her creative process, her masterful abilities in art design, and her playful-like enjoyment of the qualities of glass. Her latest class, Watercolor Glass, is beautifully produced for the benefit of all.
— KS

Meet Your Instructor: Kim Brill
Kim Brill has been making acclaimed kilnformed glass since 2005. A resident of Austin, TX, Kim teaches at Helios Kiln Glass Studio after a career as an art director and graphic designer. Her work has won an honorable mention at Bullseye's Emerge international juried competition, and has appeared in The Corning Museum of Glass international publication New Glass Review.
You can see her work at www.FusedArtGlassByKimBrill.com
Course Curriculum
- About This Project
- Blue/Green Project, Day 1: Cutting Pieces for the First Layer (23:28)
- Blue/Green Project, Day 2: Adding Powders and Crossing Lines (13:06)
- Blue/Green Project, Day 3: Adding Color for Richness (12:04)
- Blue/Green Project, Day 4: Finessing the Design (11:35)
- Blue/Green Project, Day 5: Final Adjustments (2:28)
- Blue/Green Project, Day 6: Show and Tell (3:50)
- About This Project
- Red/Orange Project, Day 1: Building a Base Grid (13:42)
- Red/Orange Project, Day 2: Working with Powders (12:32)
- Red/Orange Project, Day 3: Lightening Deep Colors (8:58)
- Red/Orange Project, Day 4: Layering in More Colors (7:36)
- Red/Orange Project, Day 5: Final Tweaks (3:30)
- Red/Orange Project, Day 6: Show and Tell (4:04)
- About This Project
- Muted Colors Project, Day 1: A Sketch and a Line (18:22)
- Muted Colors Project, Day 2: Verticals (10:42)
- Muted Colors Project, Day 3: Changing the Hideous Orange Color (9:56)
- Muted Colors Project, Day 4: Developing Some "Drawn" LInes (16:22)
- Muted Colors Project, Day 5: Final Adjustments (5:46)
- Muted Colors Project, Day 6: Show and Tell (6:00)
We Are Proud to Use Bullseye Glass for All of our Tutorials and Personal Work.
Find Out How to Make Gorgeous Work Like This

Red / Orange Project
Finished work from the tutorial

Blue / Green Project
Finished work from the tutorial

Muted Colors Project
Finished work from the tutorial

Personal Project: Abstract
Finished personal work

Personal Project: Meadow
Finished personal work

Personal Project: Bird
Finished personal work

Personal Project: Rainbow
Finished personal work

Personal Project: Gradations
Finished personal work
Watercolor Glass is a protected technique, and the methods and materials here are copyrighted. You may not teach this technique without express permission from the artist. Please contact Kim through her website above to learn more about our remote teaching options.

